Lenovo ThinkCentre M720q Tiny Memory (RAM) Replacement
TLDR; With a tool-less design, one can easily replace both the RAM and the SSD without the need of a screw driver. Unlike the Mac Mini 2018, the RAM and the SSD are considered as CRU (Customer Replaceable Units) and all instructions are found in the manual.
One of the “life hacks” being mentioned around the purchase of a 2018 Mac Mini was to buy the best processor and SSD, but never upgrade the RAM because you can save lots of money by doing it yourself. Apple (in their great magnanimity) doesn’t support end user doing that and would prefer that you bring your mac to the Apple Store for your own safety.
Mac mini (2018) does not have user-installable RAM. You can configure the memory in your Mac mini (2018) when you purchase it. To upgrade the memory in your Mac mini (2018), go to an Apple Store or Apple Authorized Service Provider.
Besides, replacing memory modules can be a complicated, 22-step ordeal as detailed in these instructions from the iFixit Mac mini Late 2018 Memory (RAM) Replacement guide. Well, at least the RAM’s not soldered, unlike the CPU or the SSD.
Contrast that with the Lenovo M720q tiny, that considers RAM (as well as the SSD) as customer replaceable units (a category that wireless mouse and keyboard batteries fall under). In fact, the manual contains official instructions (pg. 50) on how to do just that:
Replacing the memory module
Attention: Do not open your computer or attempt any repairs before reading the Important Product Information Guide.
If your computer supports one memory module, install the module into the DIMM 1 slot. If your computer supports two memory modules, install one memory module into the DIMM 1 slot first and then install the other into the DIMM 2 slot.
- Remove the computer cover. See “Removing the computer cover” on page 25.
- Remove the bottom cover. See “Replacing the bottom cover” on page 49.
- Replace the memory module.
Admittedly, Lenovo’s 3 steps (compared to Apple/iFixit’s 22 steps) can sound too simple, so here’s how I upgraded my own unit with extra RAM (suprisingly, the “life hack” of buying the minimum memory and then get more RAM aftermarket is also effective here).
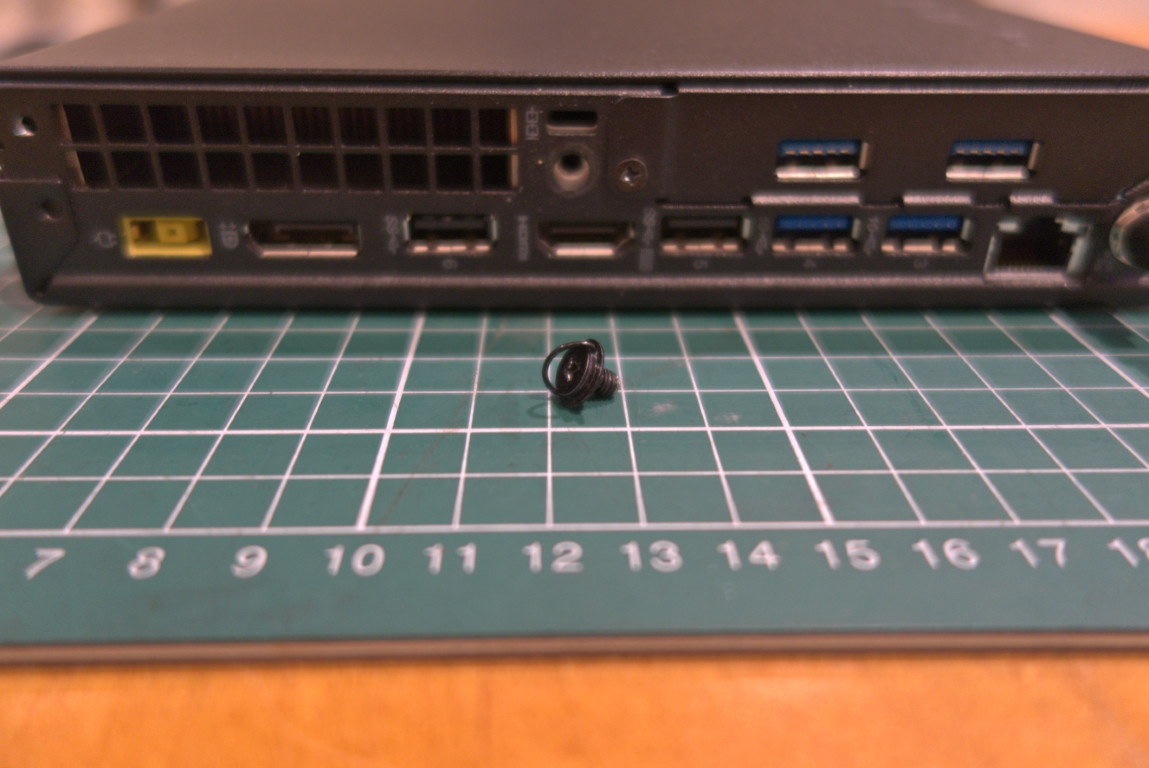
 The single screw comes with a tool-less design. It’s inclusive too, so you can still use your screwdriver if you wanted. It’s not necessary though; just lift the metal tab and you can easily twist the screw out.
 The whole assembly is held down by this single screw. You can access everything inside the unit after getting it out.
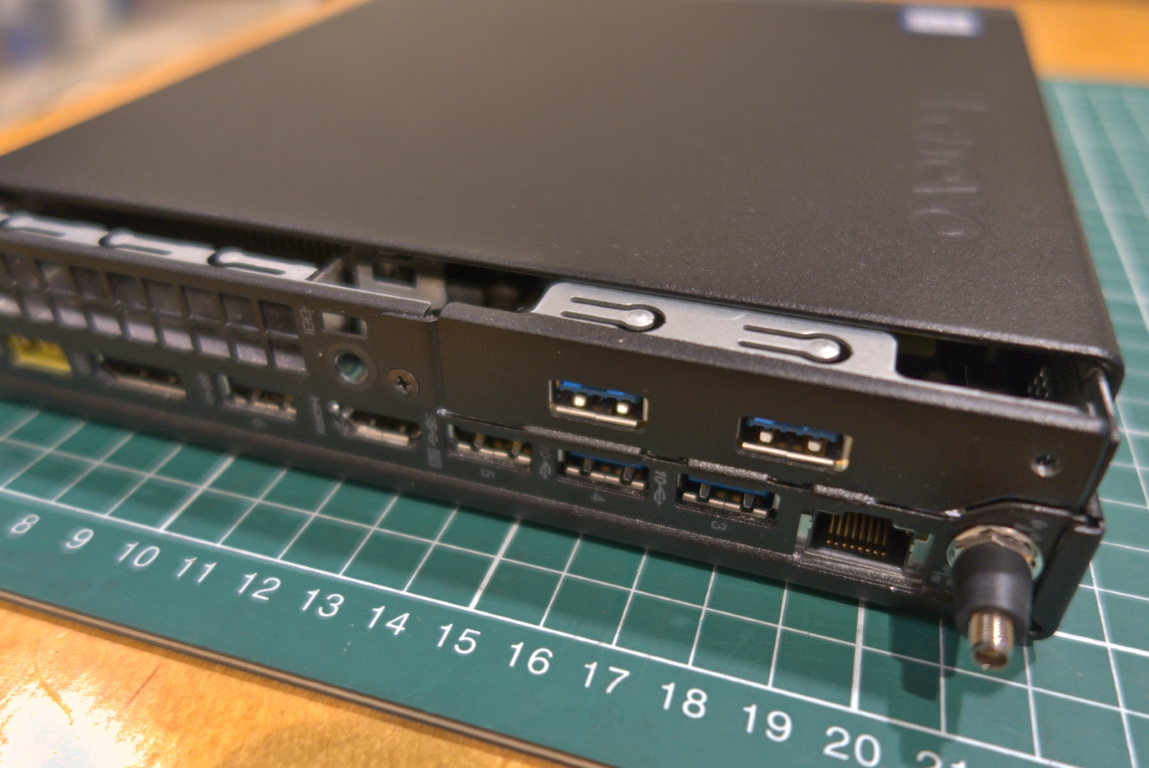 The metal cover slides out and up.
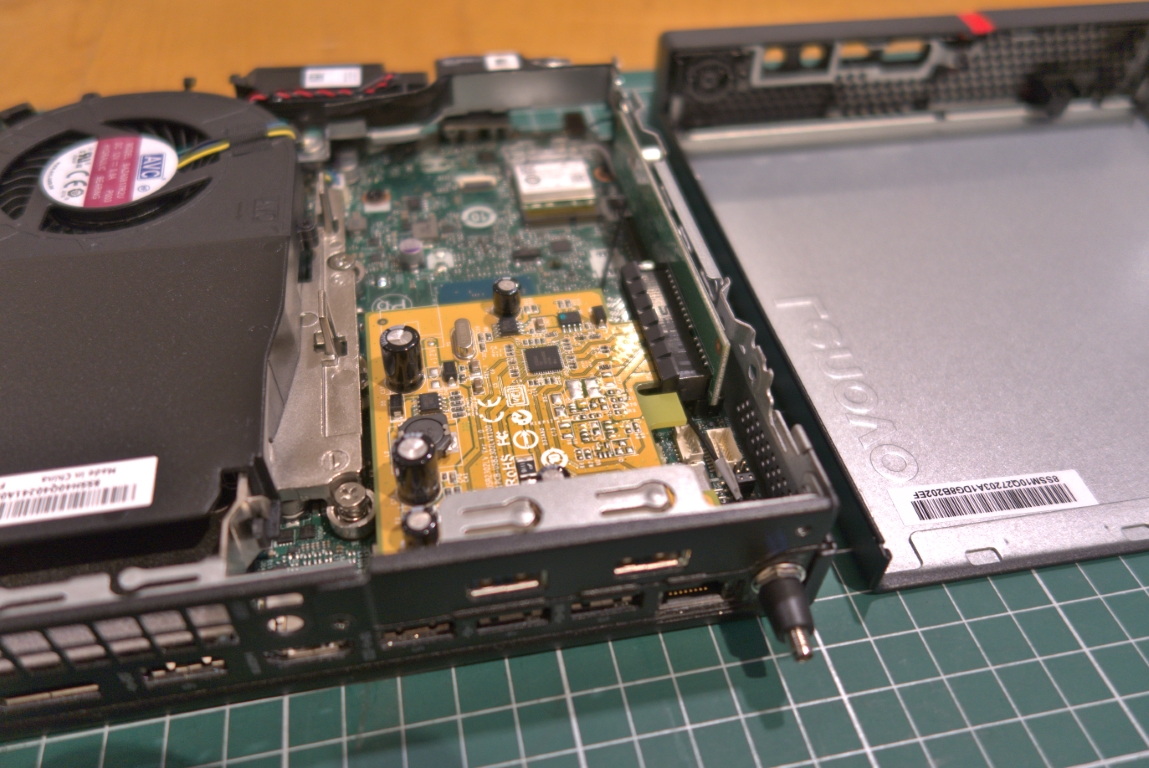 Why yes, that’s a PCI-e slot. This particular model comes with the 4-lane adapter. Lenovo does provide a part number for a full 16-lane PCI-e adapter, and I’ll be writing up a post about that once I’m able to get it.
 The RAM and the SSD are at the bottom portin of the unit. The bottom panel slides out after the top panel is removed.
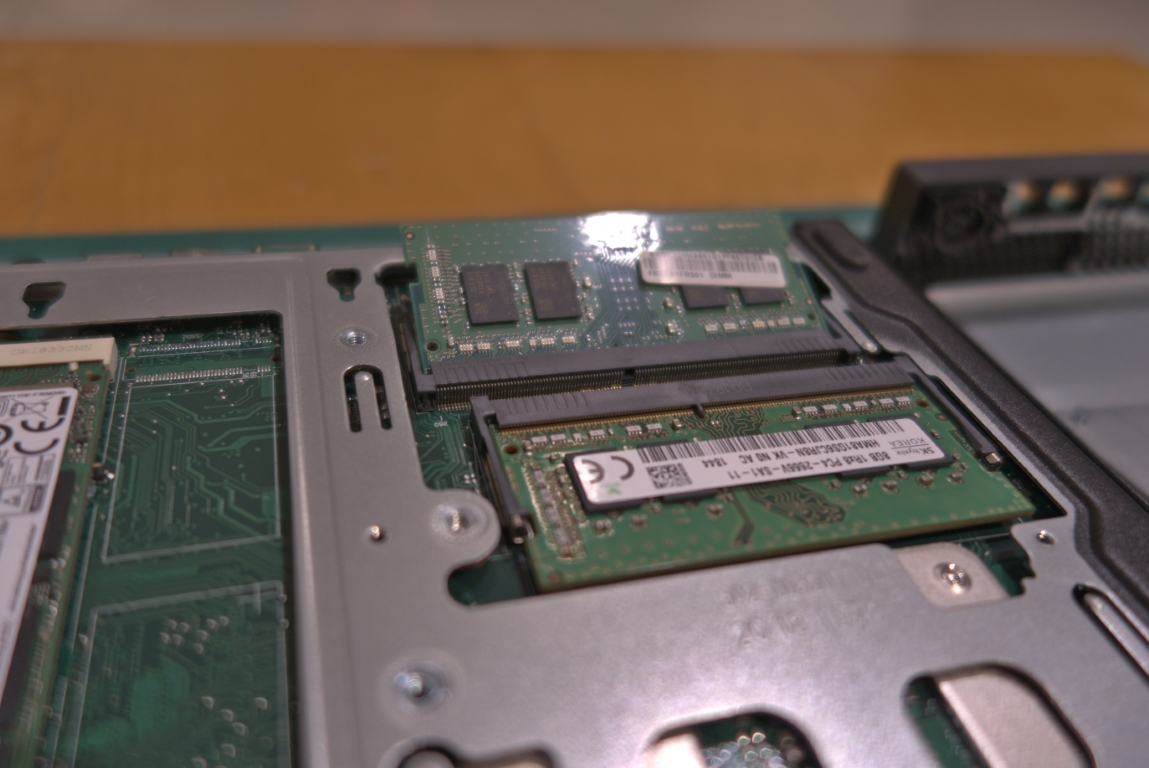 The RAM modules fit in just like every other unit that takes DDR4 SODIMM.
 Bonus Instruction: replacing the SSD is just as easy; it’s held down by a blue plastic tab where the screw would usually be.