Fixing the Broken Hinge/Palmrest of the Dell XPS 15 9560
I have an old Dell XPS 15 9560 I got way back in 2017 that I haven’t been using much because I’m unable to open the lid without the left hinge disassembling itself.
It’s especially troublesome because when this does happen, the power jack gets loose and it can oftentimes not detect that a genuine dell power supply is inserted and thus provide power, but not charge the battery. This again was way back in 2017 before type-c power delivery (and more importantly, standardization) was a thing, so I just left the laptop closed since I didn’t want to damage it any further.
Since it’s the holidays and I’ve got some time off from work, I decided to revisit this and figure out what the issue was, and try to resolve it once and for all (and hopefully help someone else who have the same issues).
I found that this seems to be a common issue on this generation of XPS (9550, 9560, and 9570) as seen in this thread: https://www.dell.com/community/XPS/XPS-15-Hinge-Issues-widespread/td-p/7529505
Reading through, I realized that this may not be something that complicated after all, so armed with a trusty screwdriver set, I started working on the hinge assembly.
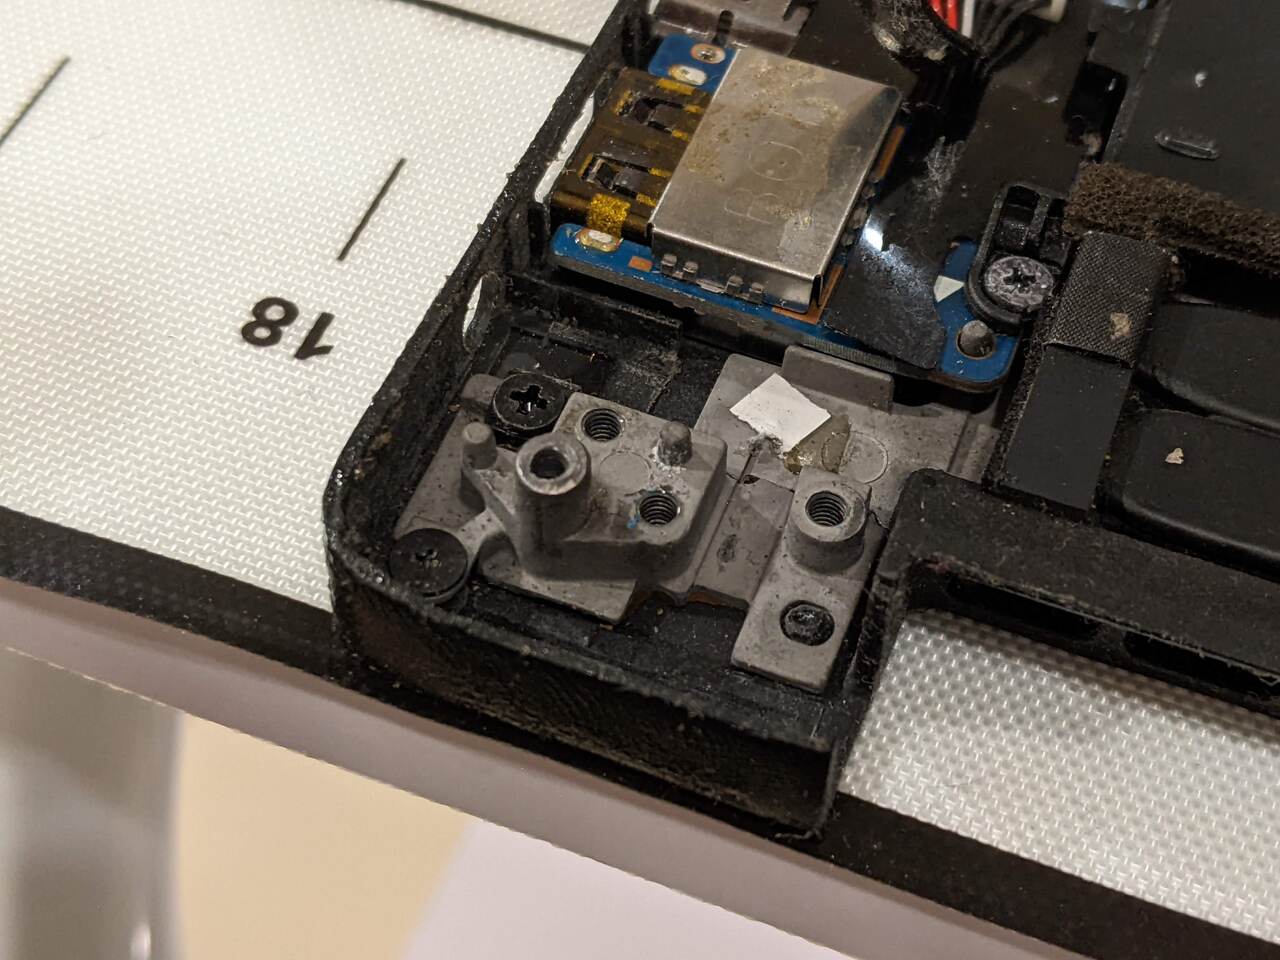
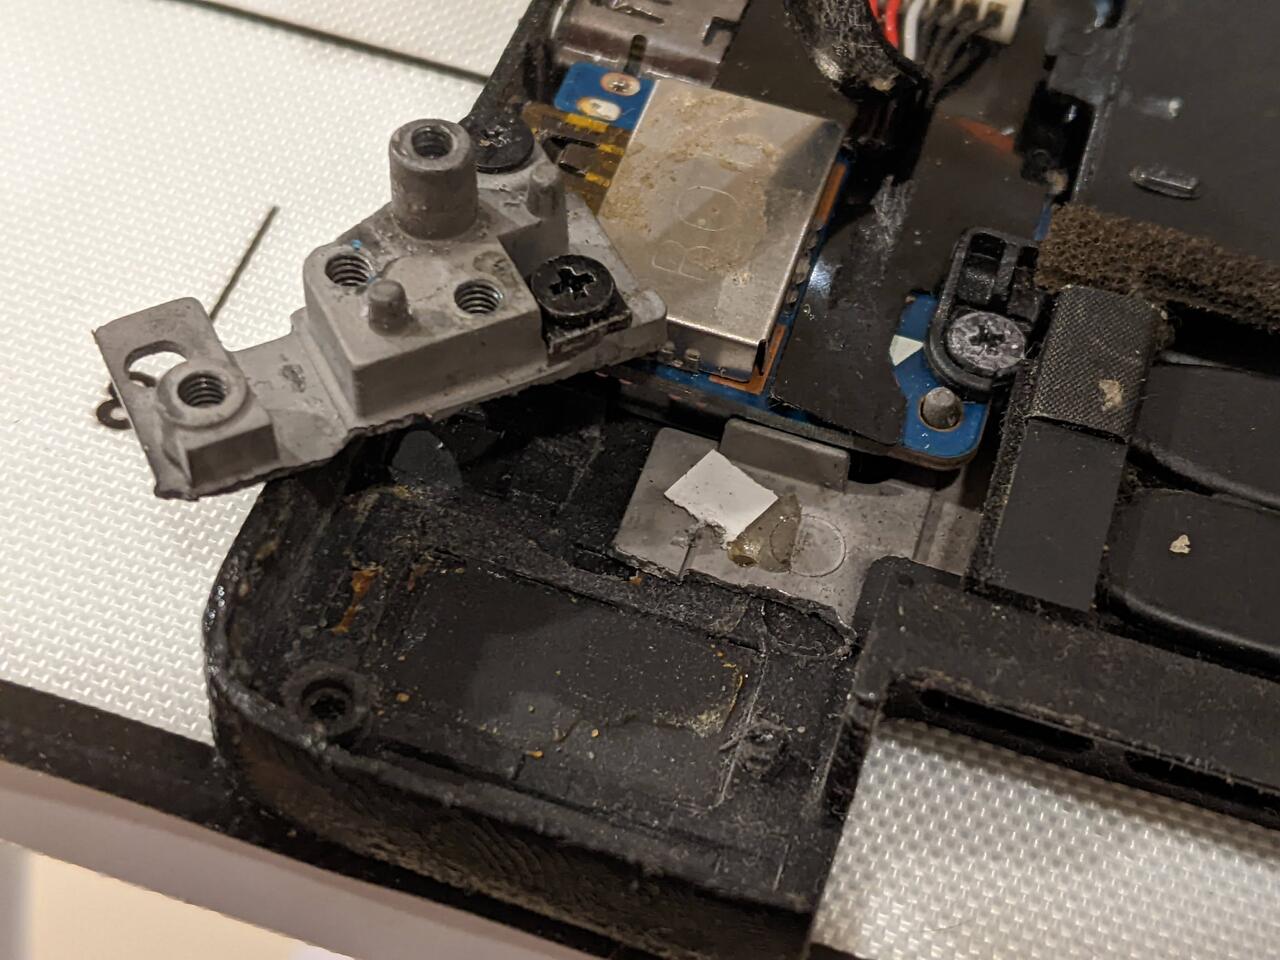
There are a total of six screws on the hinges that attach the display assembly to the palmrest. At first glance it seems everything is okay, but in fact the thin metal has been snapped and you can see some adhesive that looks like it dried-out and detached, severing the connection with the palmrest.
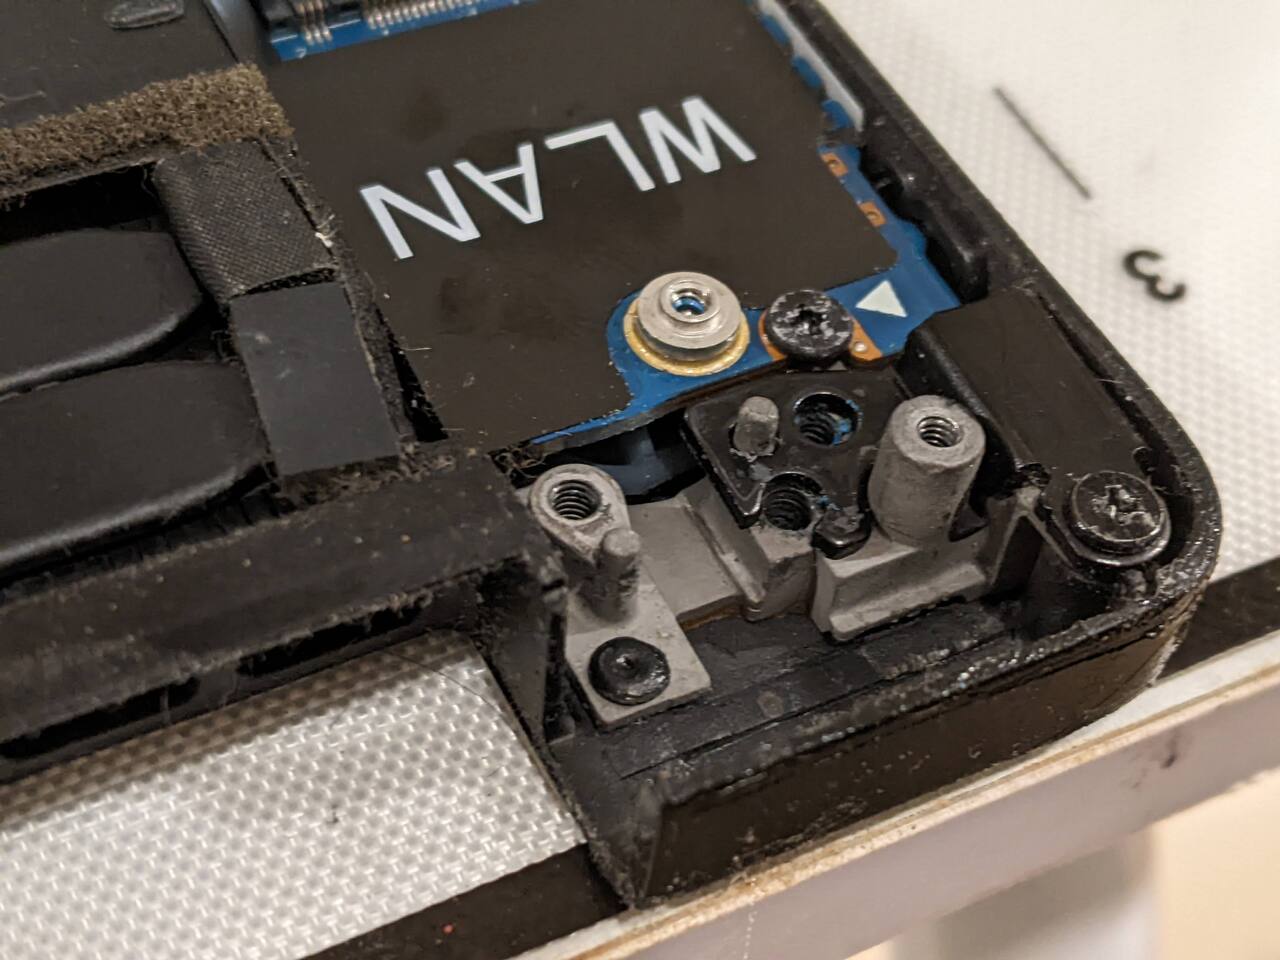
Below is a picture of the right side where it looks like everything’s still in place. As an aside, it’s somewhat appalling to think that the Dell designers thought that having the lid connecting to the palmrest on two relatively tiny and flimsy leverage points was a good idea. Especially since this is a laptop, so we should expect the lid to be opened and closed at least a thousand times over the life of the machine.
Originally I thought of just buying a new/refurbished palmrest and transferring over the guts of the laptop on there, bit then after some research I found out that you’d have to deal with more than 30 screws for the keyboard, and that you’d need to make sure the palmrest has support for the fingerprint reader.
It felt like a big pain, so I opted for a DIY solution instead. Since it looked like an adhesive (albeit a thinly applied one) was used, I thought maybe I can also use an adhesive as well but this time around something more substantial and lasting. I don’t foresee myself replacing the palmrest in the future, so a more permanent adhesive like epoxy should do.
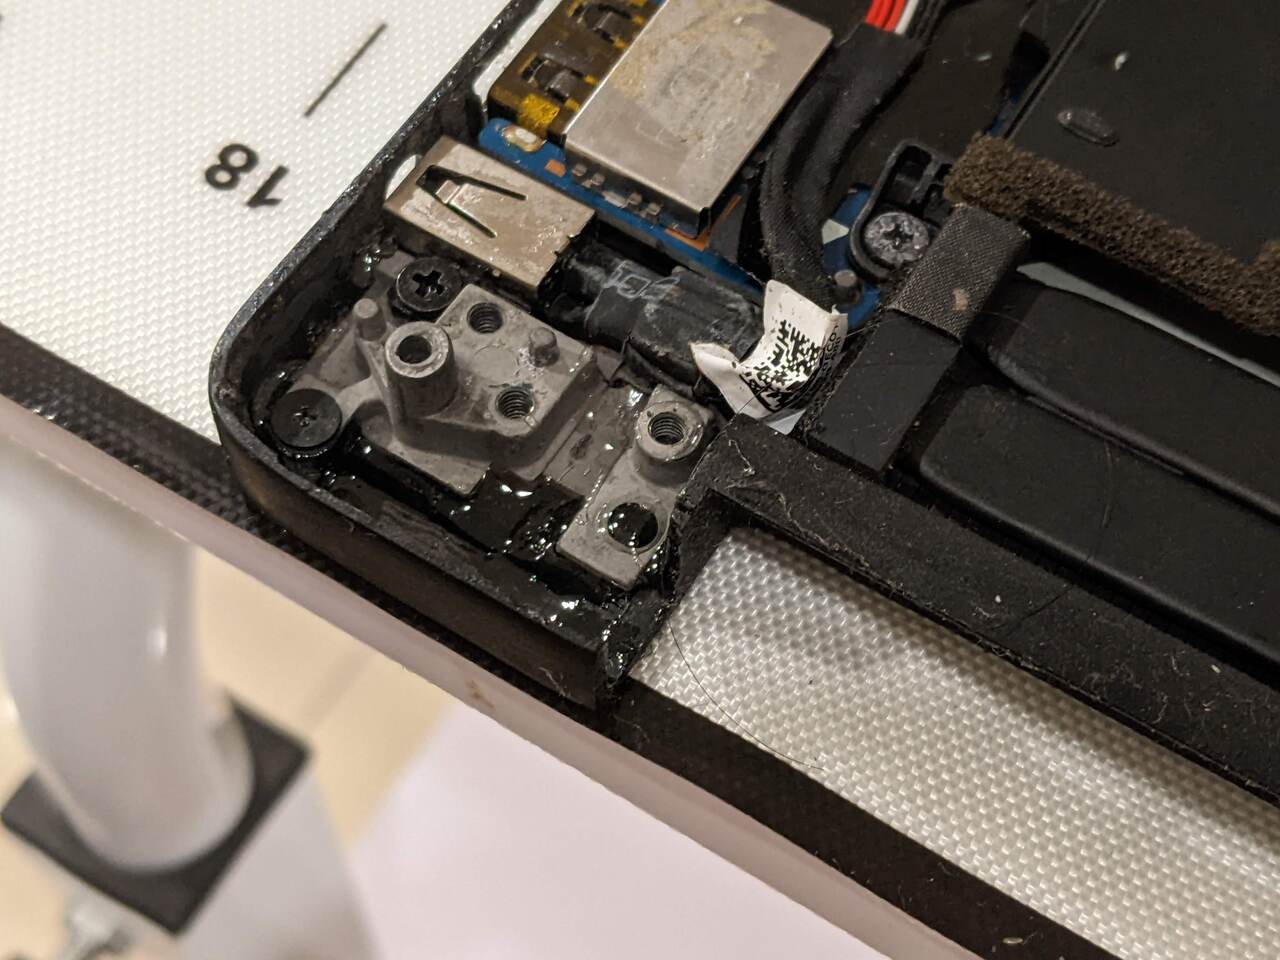
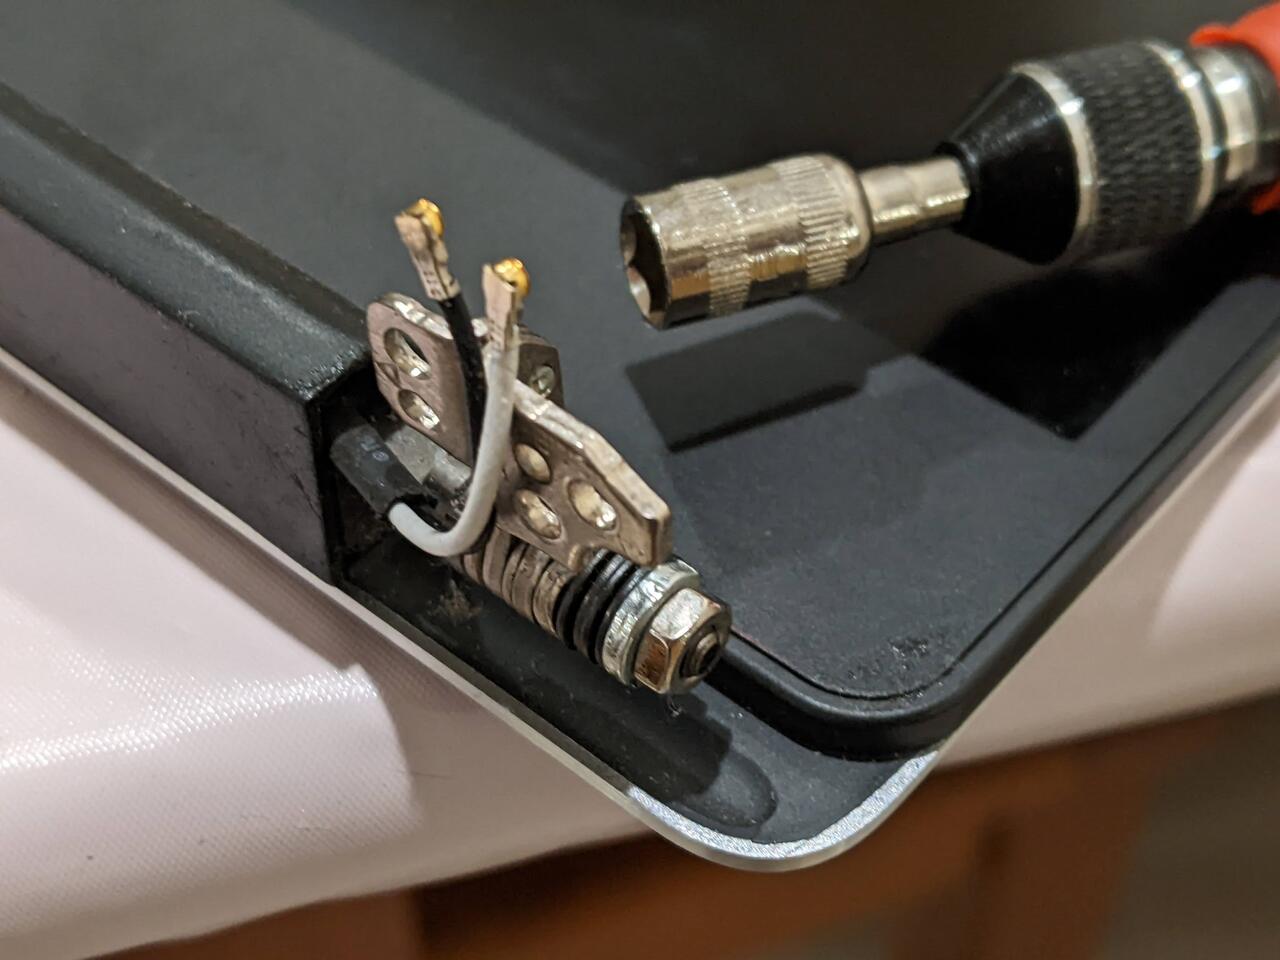
I made sure not to over-apply the epoxy so that when it cures, I can still fit in the display assembly as normal. Speaking of the display assembly, I thought that the lid hinge was quite stiff and probably contributes to the stress on the palm rest connection. So I decided to loosen them up a bit; the ends of the display hinges are terminated with a bolt and if you loosen them up, the rubber gaskets don’t produce as much friction and the lid opens and closes less stiffly.
The downside here is that the lid won’t stay open if it goes below a certain angle (it would just fall shut at around 45 degrees) and beyond maybe 100 degrees, it would immediately fall to its widest opening. So either I just use the laptop at 90 degrees all the time, or find a wall or some support behind.
I think it’s a relatively decent tradeoff to not having to worry about the hinge disassembling itself in the future since the stressors are mostly relieved. The epoxy also cured quite well and I think it would last for quite a few more years.
Now I just have to deal with all this gunk known as “soft touch” that devolved into an icky sticky mess and that should do it with the restoration.